Before, During and After: A Simple Approach to Creating a Strong Interior Photograph
Most people focus on what happens when they press the shutter.
However, a strong photograph is shaped just as much by what happens before and after. When you begin to see this as three parts of the process, it becomes far less overwhelming. Instead of trying to get everything right in one moment, you’re simply making a series of considered decisions along the way.
Part One: Before (What you set up)
This is where the image is often made, long before the camera is in your hands.
1. Style the scene
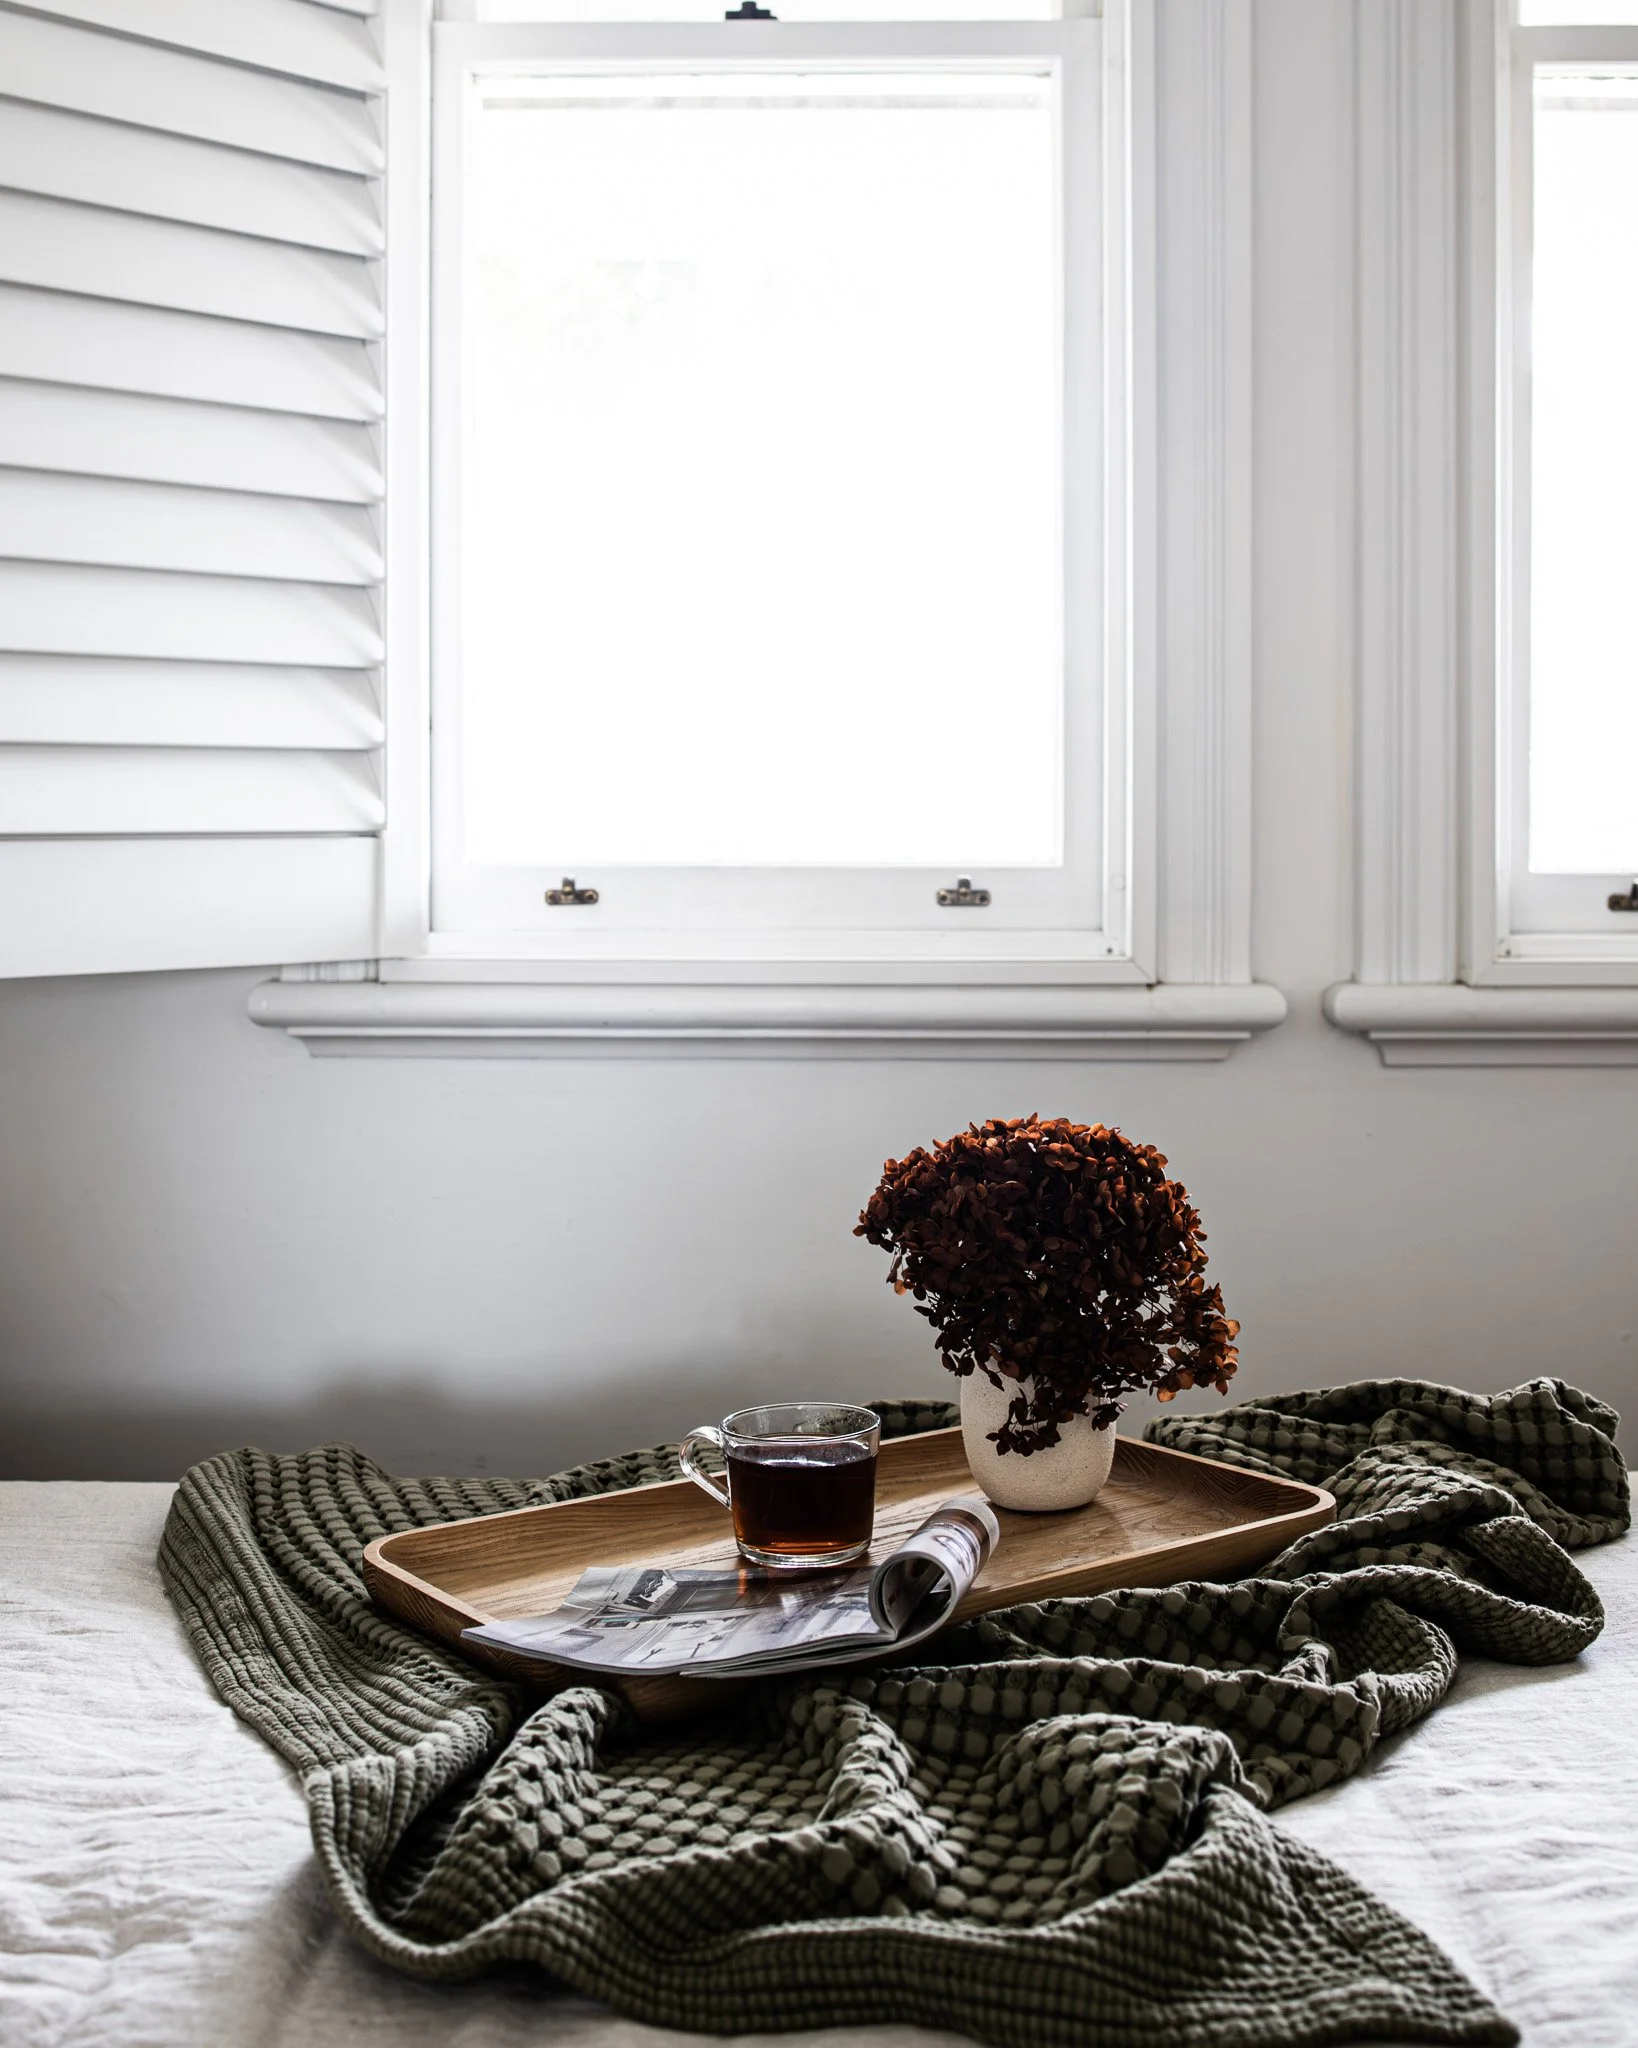
Before you begin, spend some time stepping back and considering how the space will translate through the lens. Styling for the camera is slightly different to styling for real life, as the camera flattens a space. Because of this, elements that feel balanced in person may need adjusting to read clearly in an image. Start by arranging your main elements with intention, then refine by adjusting height, spacing and placement so each piece has room to be seen.
2. Work with the light
Light will shape your image more than any setting, so it’s worth paying attention to early. In most cases, natural light will give you a softer, more cohesive result, whereas artificial light can introduce colour shifts that are harder to correct later. Even so, you don’t need to overthink it. A small shift in position, or the time of day, can completely change how a space feels.
3. Decide what matters
Every image needs a point of focus. Without one, the eye doesn’t know where to settle. Before you shoot, ask yourself: what is this image about? Once that’s clear, you can begin to arrange the scene so that everything else supports it rather than competes with it.

Part Two: During (What you capture)
Once everything is set, this is where you begin to respond to what’s in front of you.
1. Adjust your position
Often, the difference between an average image and a strong one comes down to a few small movements. For example, you might step slightly to the left, lower your camera, or move a little closer. While these adjustments are subtle, they have a significant impact on balance, depth, and overall composition.
2. Pay attention to exposure
At this stage, you don’t need to overcomplicate your settings. Instead, focus on what you can see. Ideally, your image should hold detail in both the highlights and the shadows, so that nothing feels too harsh or too flat. If something looks overly bright or too heavy, it’s worth making a small adjustment before taking the shot.
3. Be intentional with focus
Where you place focus plays an important role in how the image is read. A clear focal point, with softer surrounding elements, can create a sense of depth and guide the viewer through the scene. Although it’s a small decision, it adds a layer of intention that’s immediately noticeable.

Part Three: After (What you refine)
This is often where things become more complicated than they need to be. In reality, editing isn’t about transforming your image, but about refining what you’ve already created.
1. Keep your adjustments minimal
When the foundation is strong, you don’t need much. A few considered adjustments, such as exposure, contrast, and colour, are often enough to bring the image to life. From there, it’s about knowing when to stop.
2. Aim for consistency
While a single image might work on its own, consistency becomes important when you begin to share your work more widely. A cohesive look across your images helps your work feel more considered and more professional. Over time, this is what creates a recognisable style.
3. Use tools that simplify the process
Rather than adjusting every image from scratch, it can be helpful to use tools that streamline your workflow. For example, a preset gives you a starting point that has already been shaped to create a particular feel. From there, you can make small adjustments if needed, but the overall direction is already established. If you’ve ever felt unsure about how to edit your images, this is often the piece that brings everything together.

When you approach your photography this way, the process becomes simpler and more manageable. You’re no longer relying on one moment to get it right. Instead, you’re working through each part — before, during and after — with a little more clarity and intention.
And over time, those small decisions begin to show in your work.